Installation and Configuration
This guide covers supported platforms, installation, and the first-time setup wizard with screenshots.
Supported platforms and downloads
The POS client runs on Windows, Linux, and Android. Standard installation packages for each platform are available. If you need a platform-specific build, please get in touch.
Download the latest installers from https://www.yegnapos.et/releases.
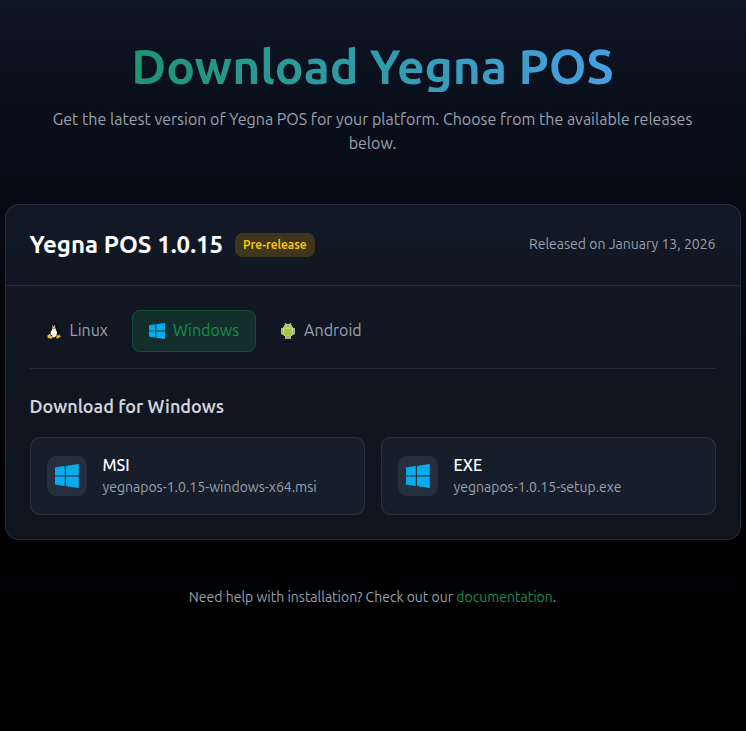 | 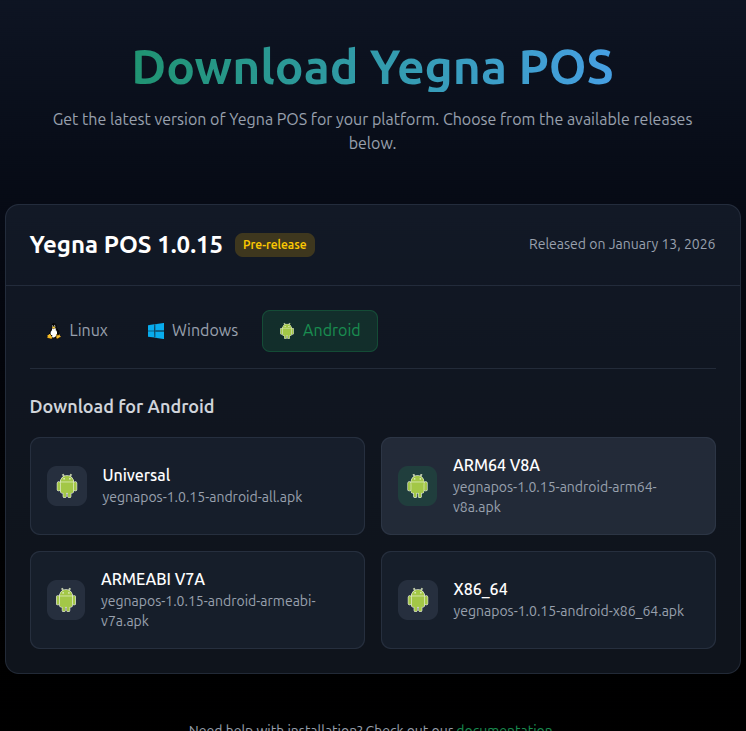 | 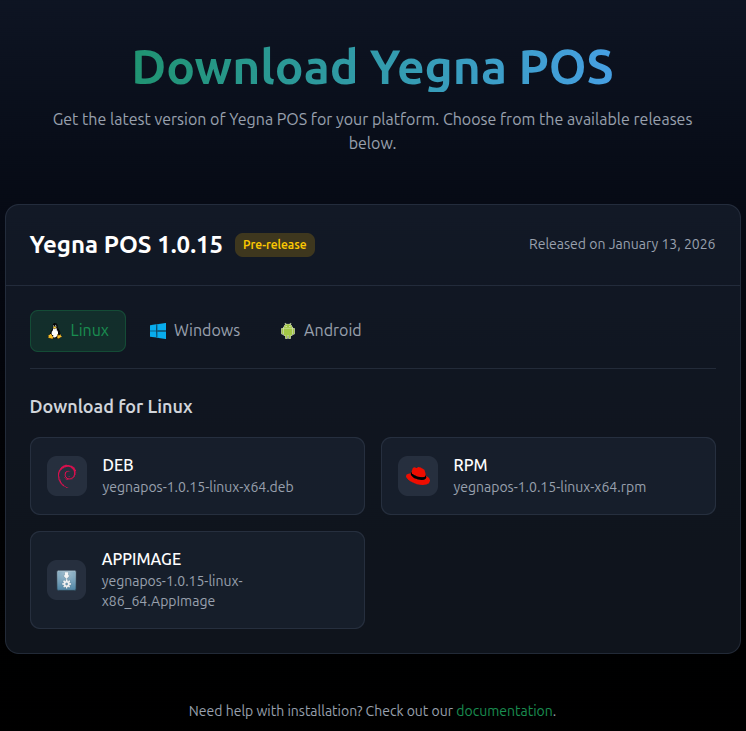 | You can switch between Linux, Windows, and Android tabs to download the installer you need. |
Installation
Windows installation
- Download the
yegnapos-*-windows-x64.msiinstaller. - Double-click the file and follow the wizard. Accept driver and firewall prompts when asked.
- Finish the wizard and launch the POS from the Start Menu shortcut.
Linux installation
- Download the package for your distribution (
.debfor Debian/Ubuntu,.rpmfor RHEL/Fedora-based systems). - Install with your package manager, for example:
- Debian/Ubuntu:
sudo dpkg -i yegnapos-*-linux-amd64.deb && sudo apt -f install - RHEL/Fedora:
sudo rpm -i yegnapos-*-linux-x86_64.rpm
- Debian/Ubuntu:
- Start the POS from your application launcher or by running
yegnaposfrom a terminal.
Android installation
Android 7.0 or newer is required.
- Install the APK from the Retailer Portal or Google Play store.
- If you use a customer display, also install
customerdisplay-*-android.apkfrom the Retailer Portal.
Initialization of a POS installation
After first launch, associate the local installation with the right merchant, store, and POS number. You can load the configuration from a file or scan a QR code provided by your administrator.
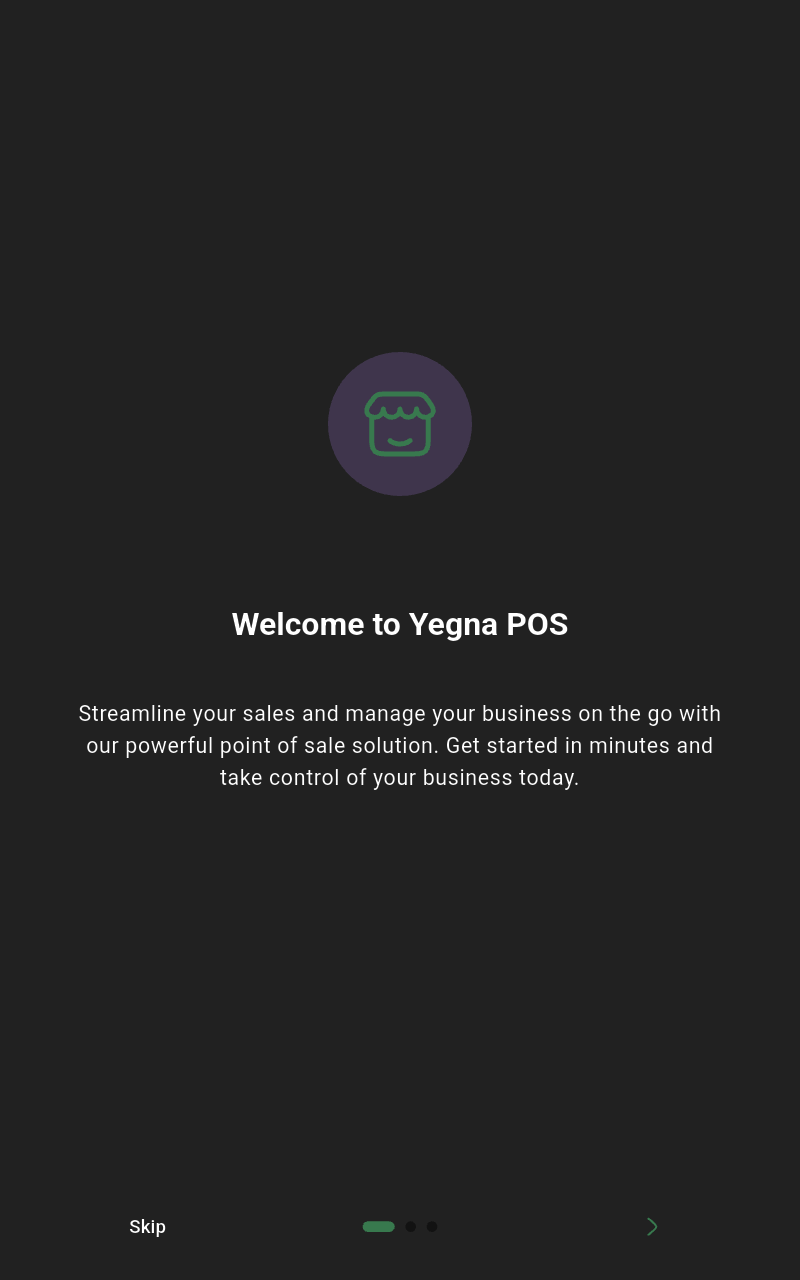 | 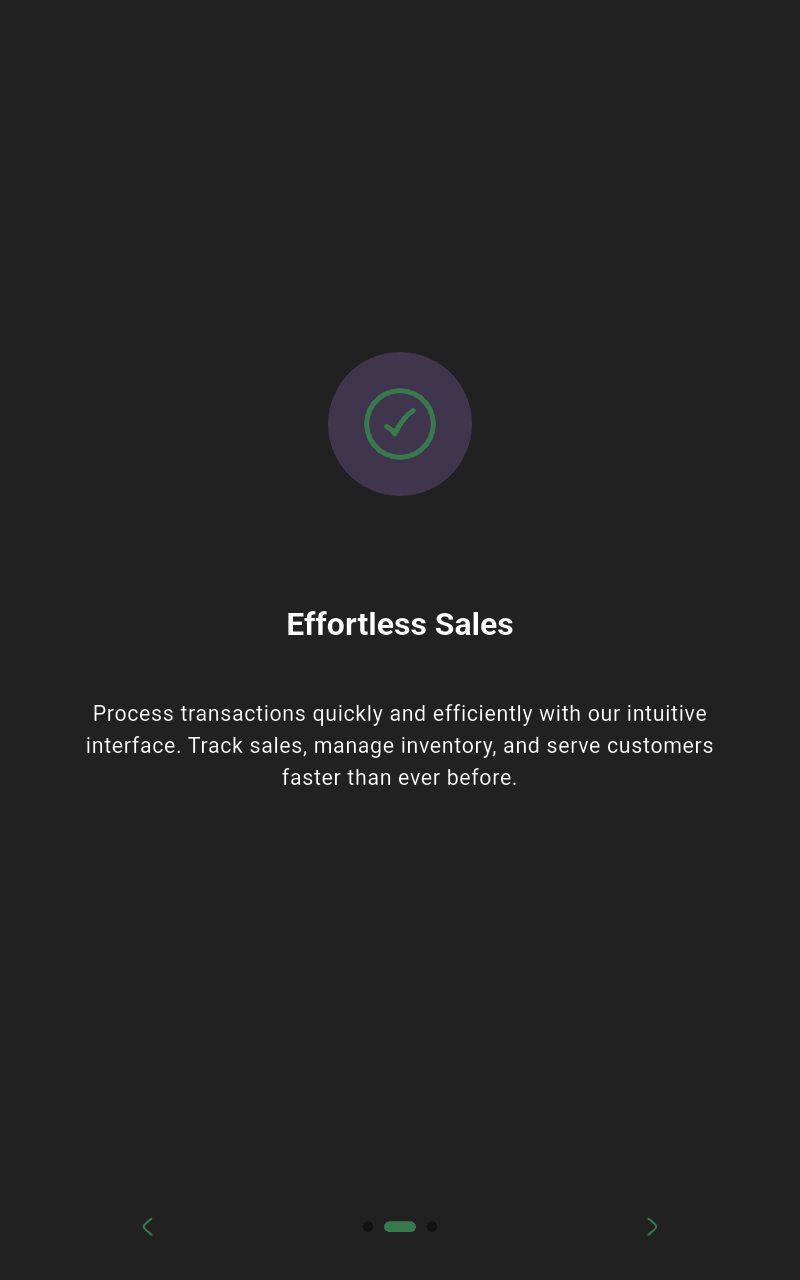 |  | Skip or tap Next through the intro, then tap Get Started. |
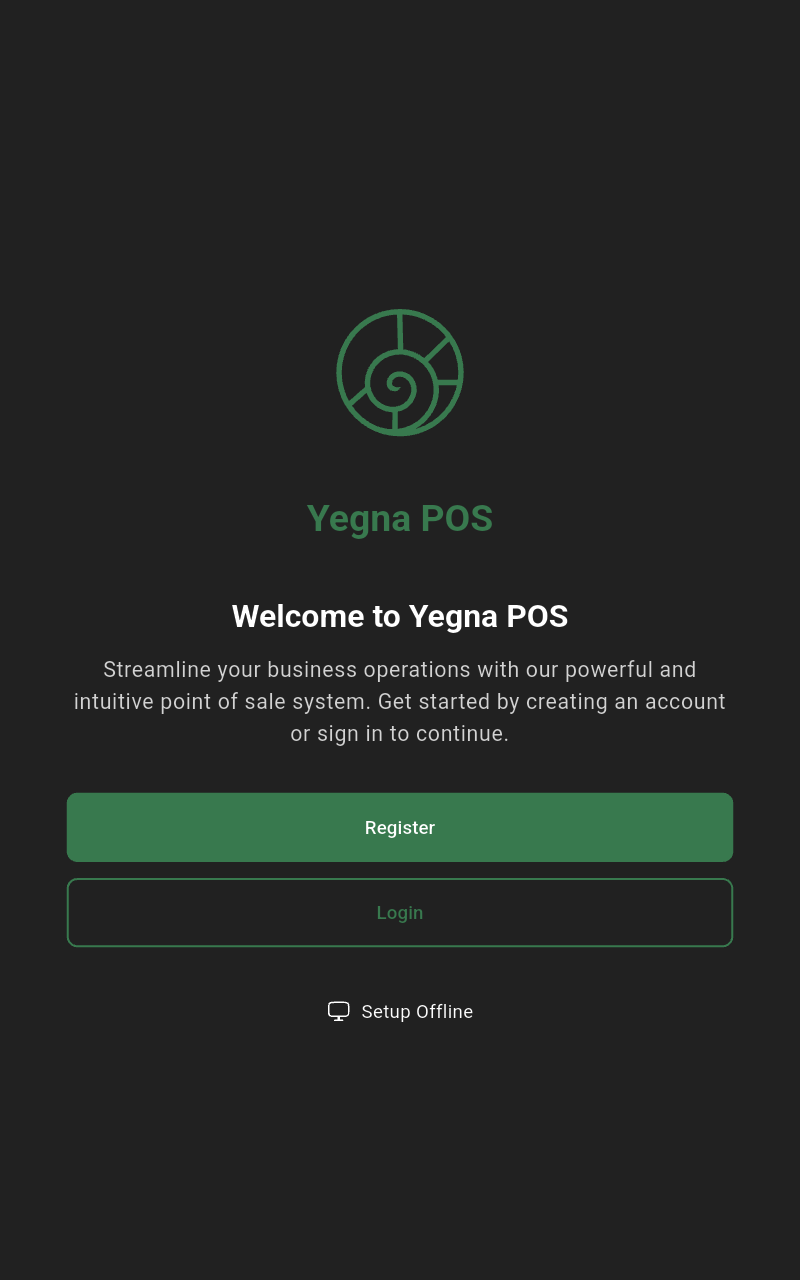 | Choose Set up offline to use the local wizard. | ||
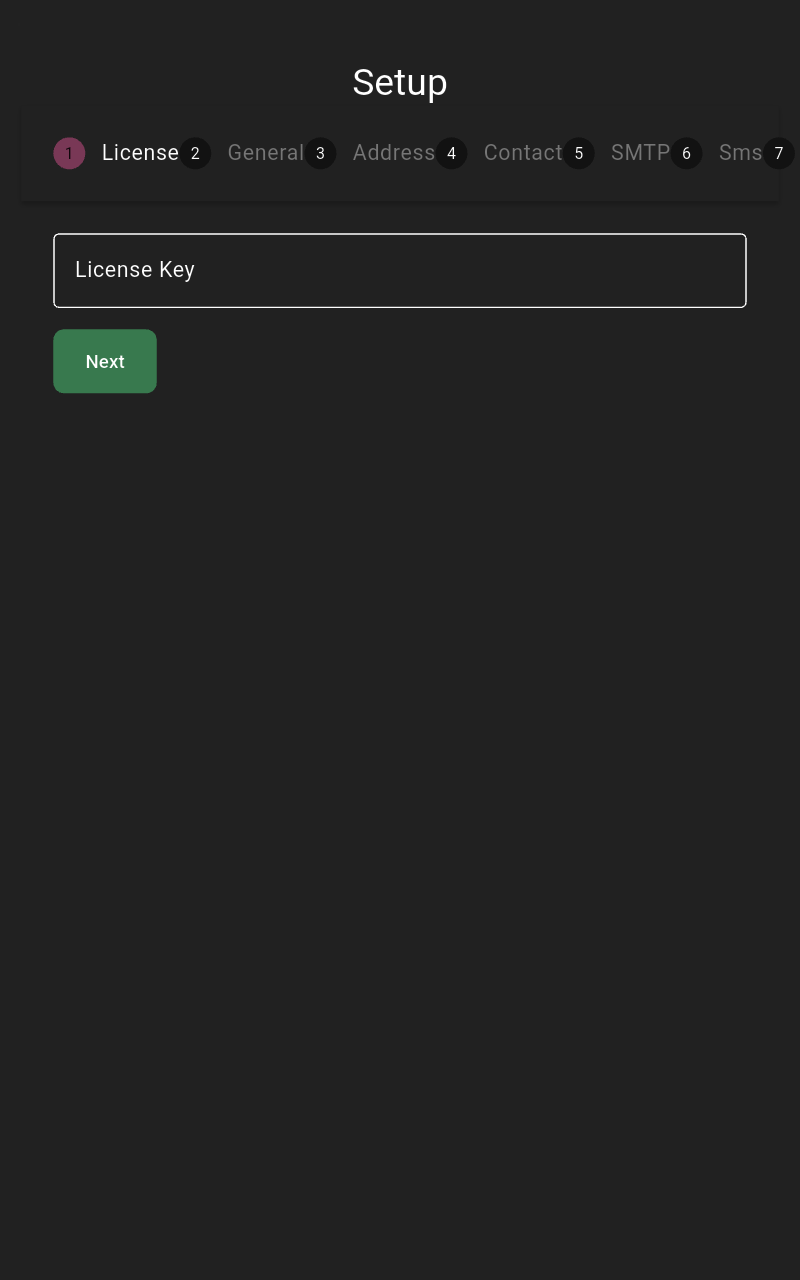 | Enter the license key, then click Next. | ||
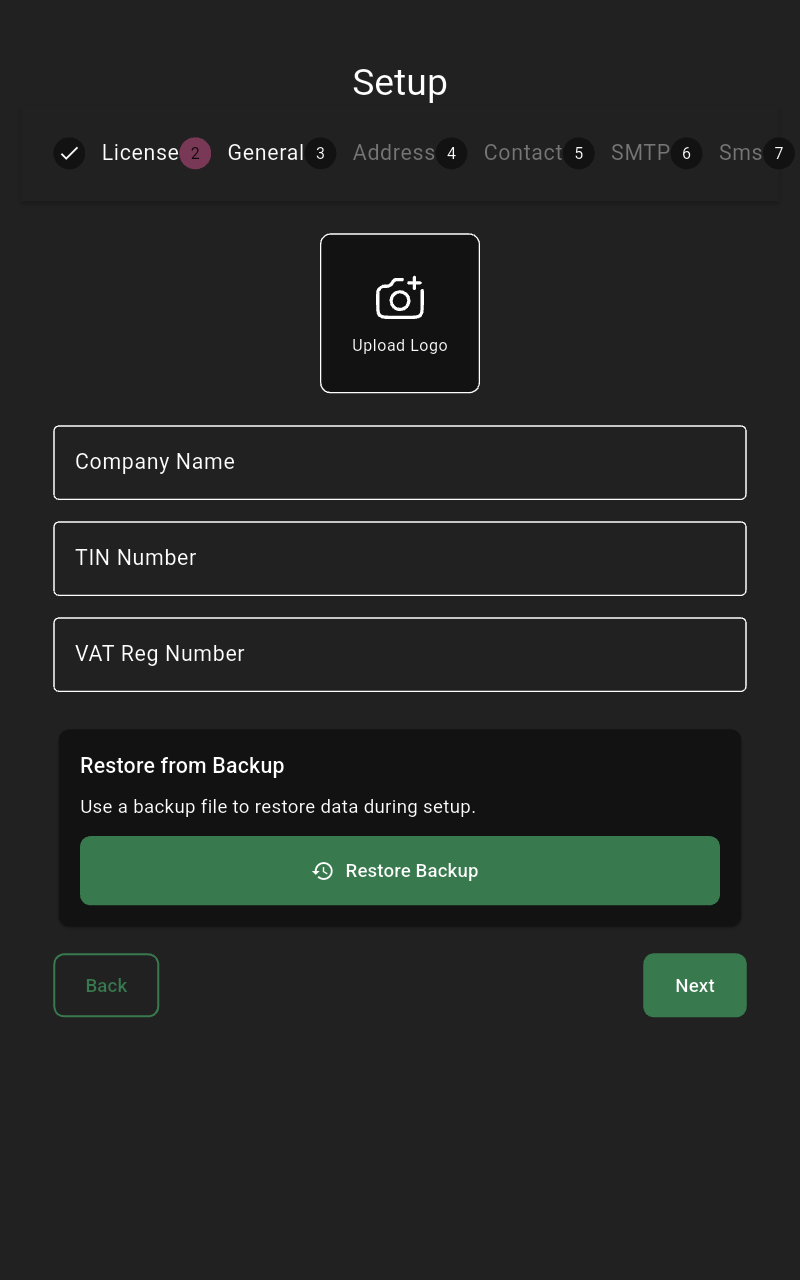 | Enter the company name. Add TIN, VAT registration number, and logo if available, then click Next. | ||
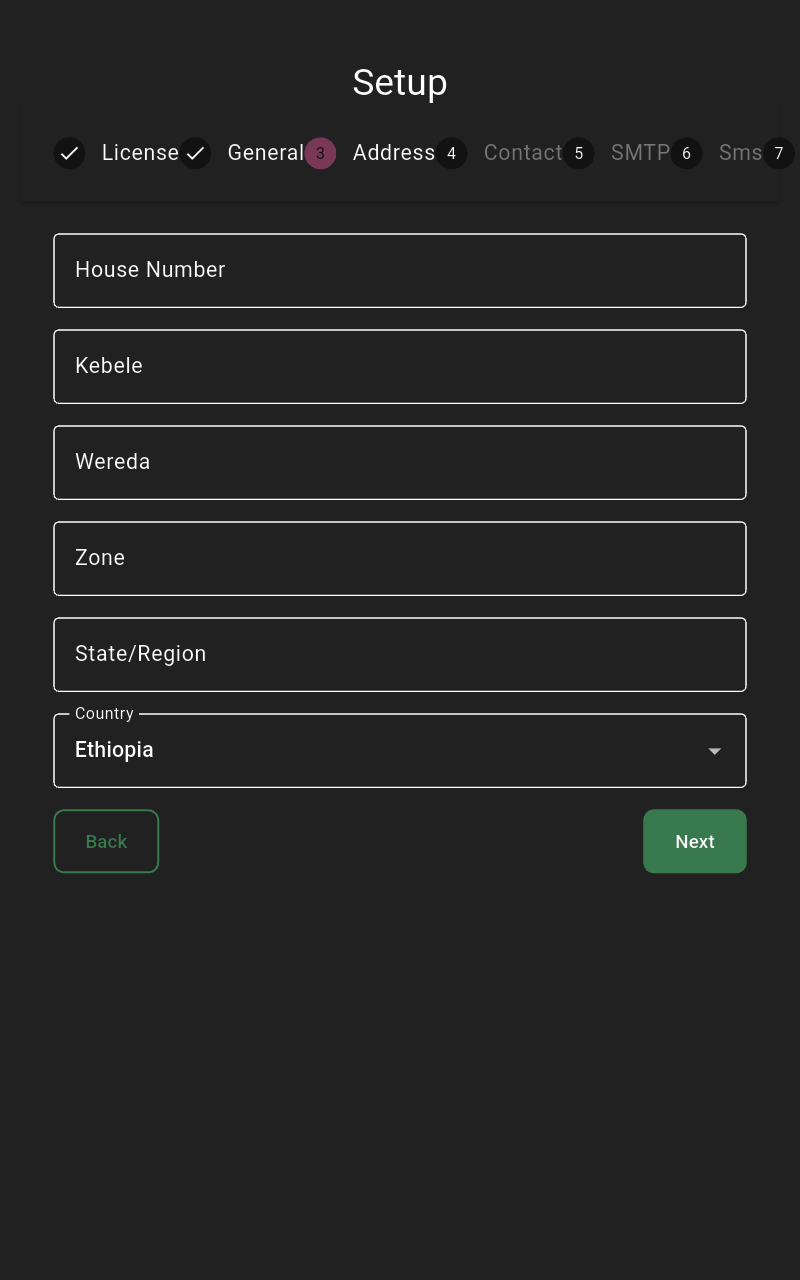 | Enter the house number, kebele, wereda, zone, state/region, and country, then click Next. | ||
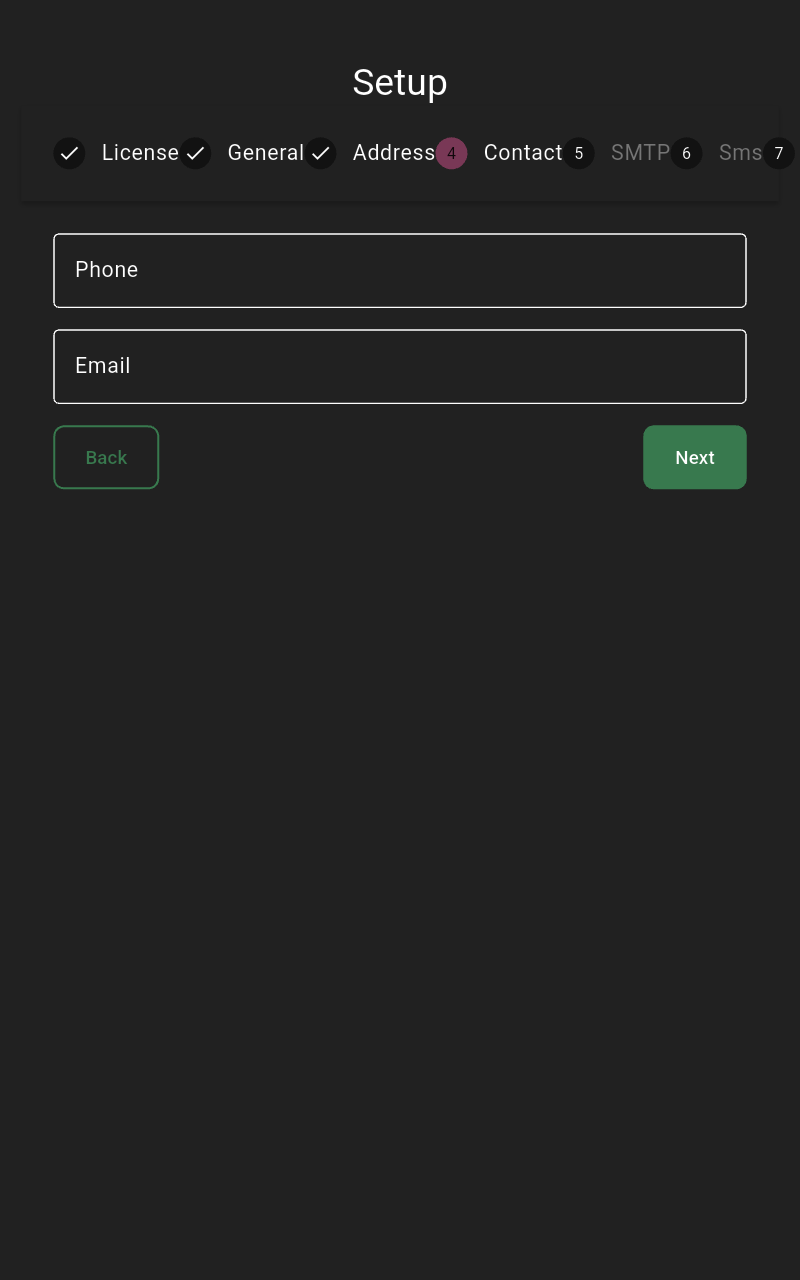 | Enter an email or phone number (either is optional), then click Next. | ||
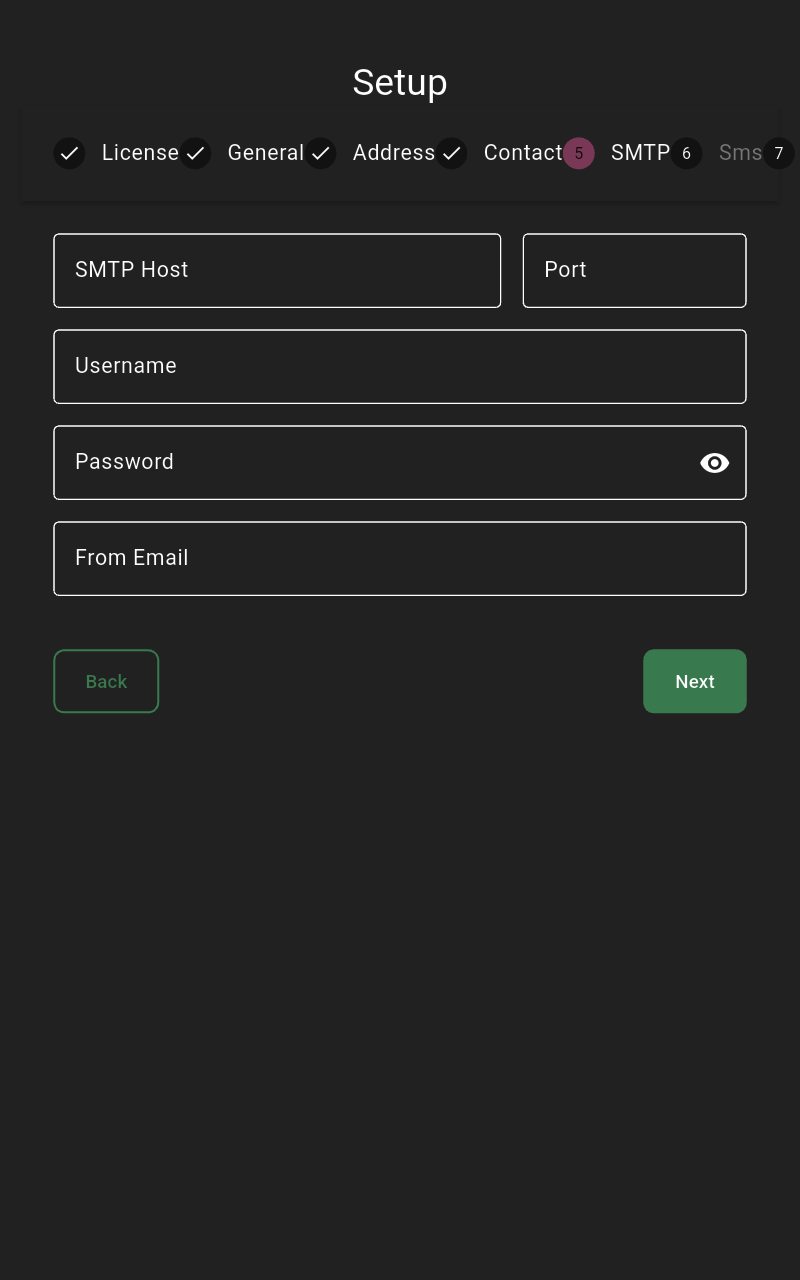 | Configure SMTP (host, port, username, password, from email) or leave blank and click Next. | ||
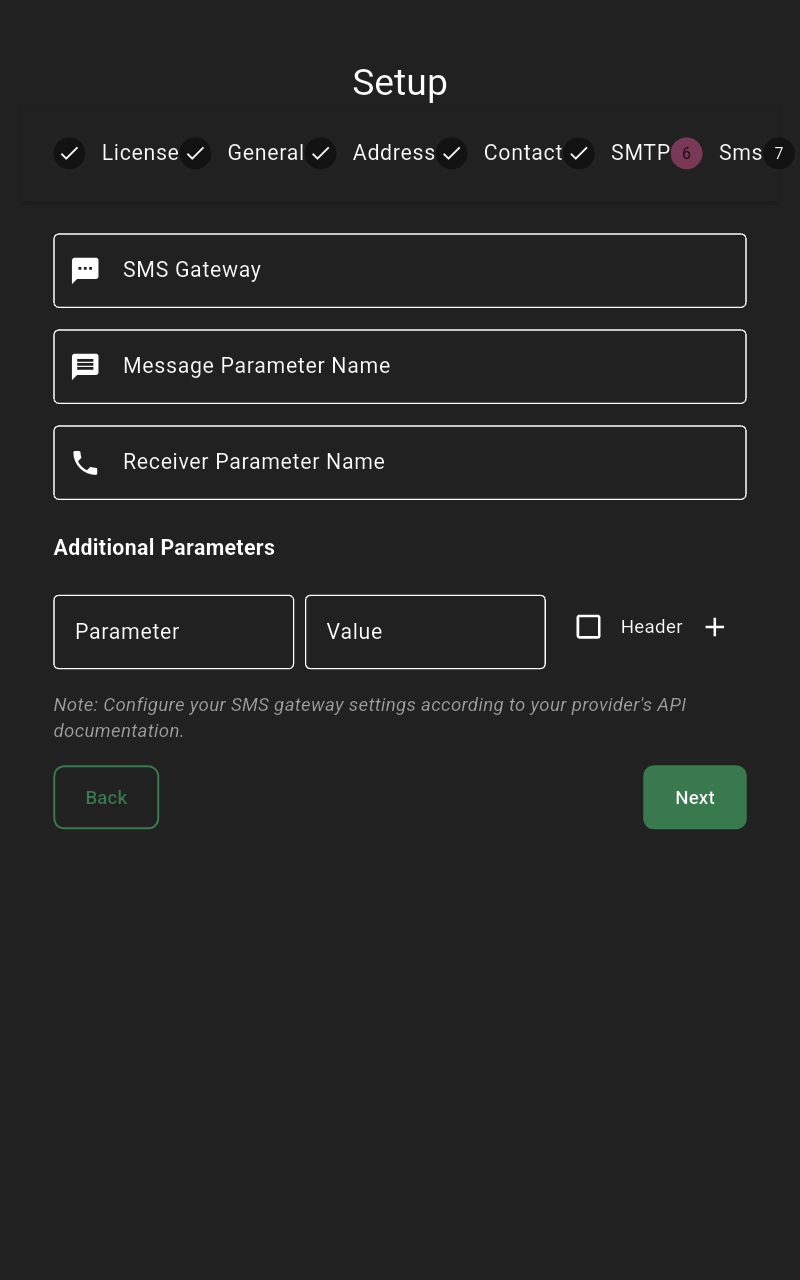 | Configure SMS gateway (URL, message/receiver parameter names, extra params) or leave blank and click Next. | ||
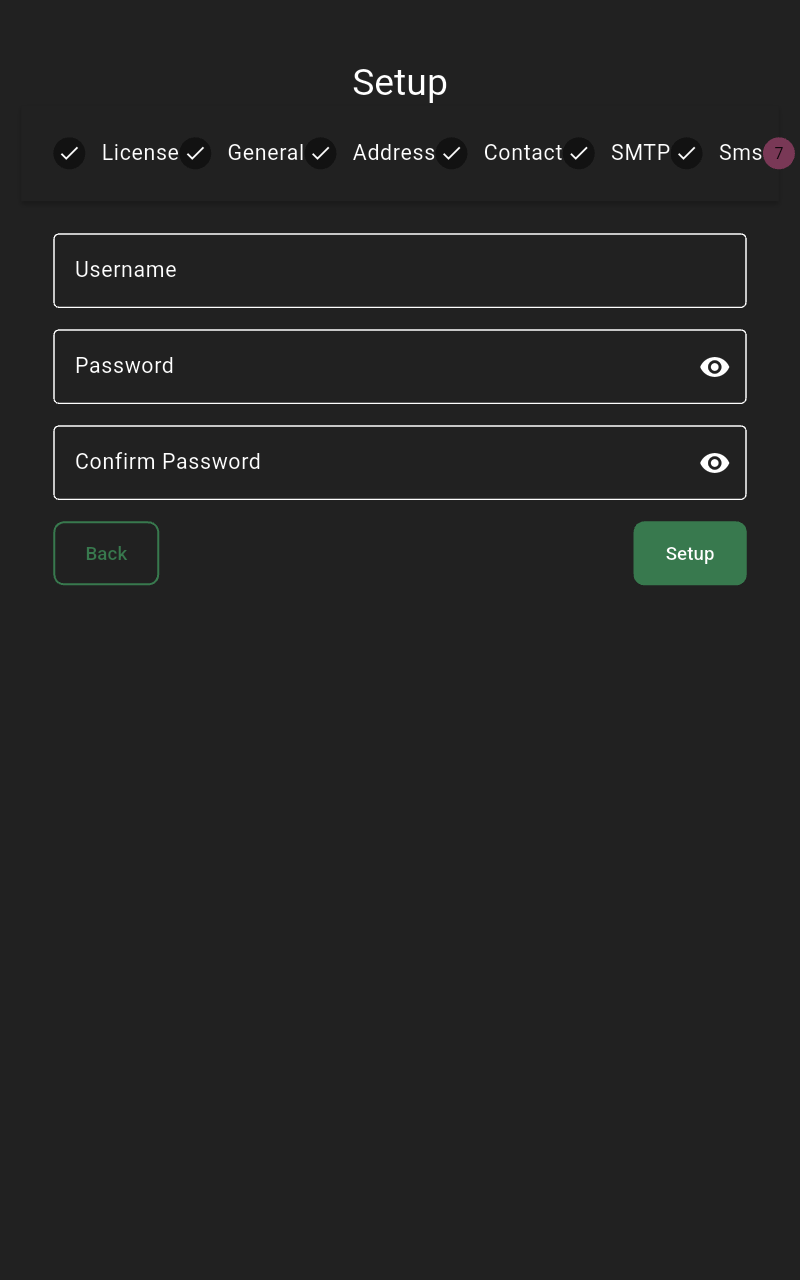 | Create the first POS user: set username, password, confirm password, then click Set up. | ||
Example of completed fields
Use the following screenshots as a reference for expected inputs.
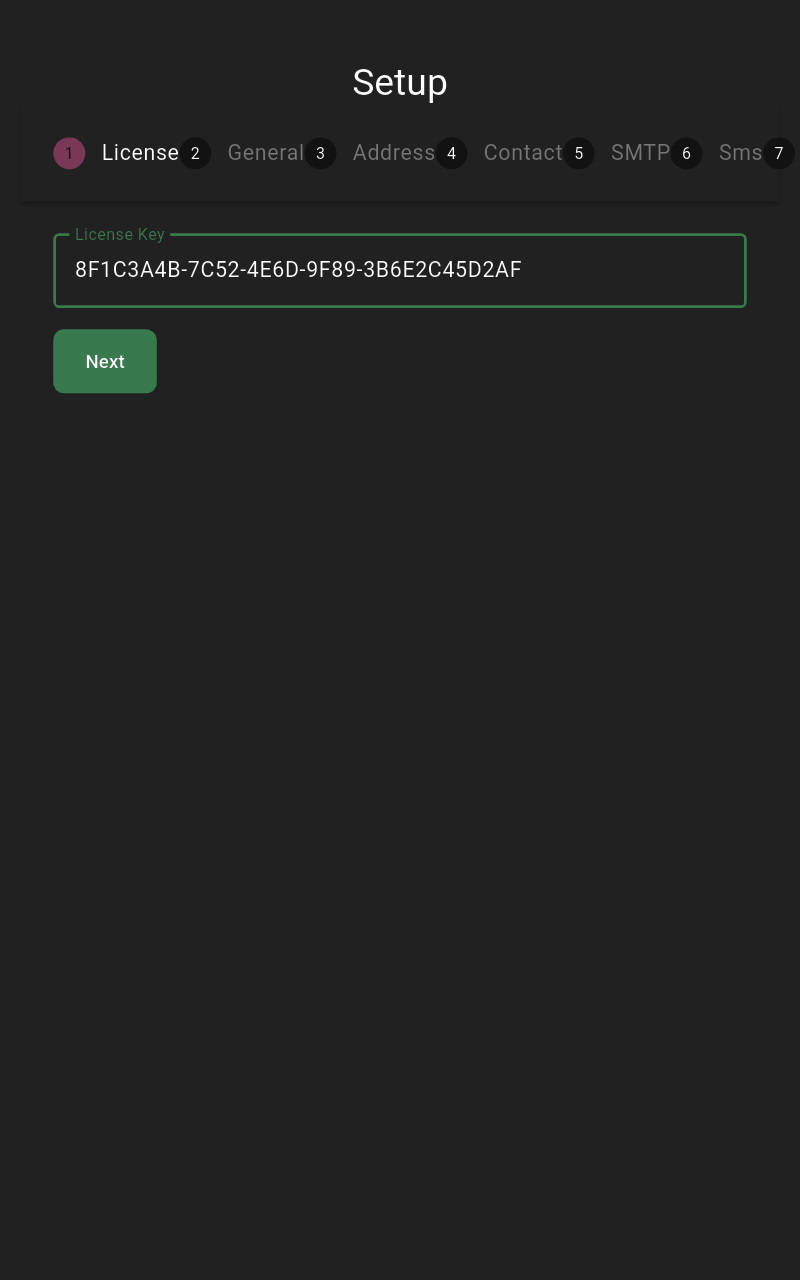 | Sample license key filled. | ||
 | Company name, TIN, VAT number, and logo populated. | ||
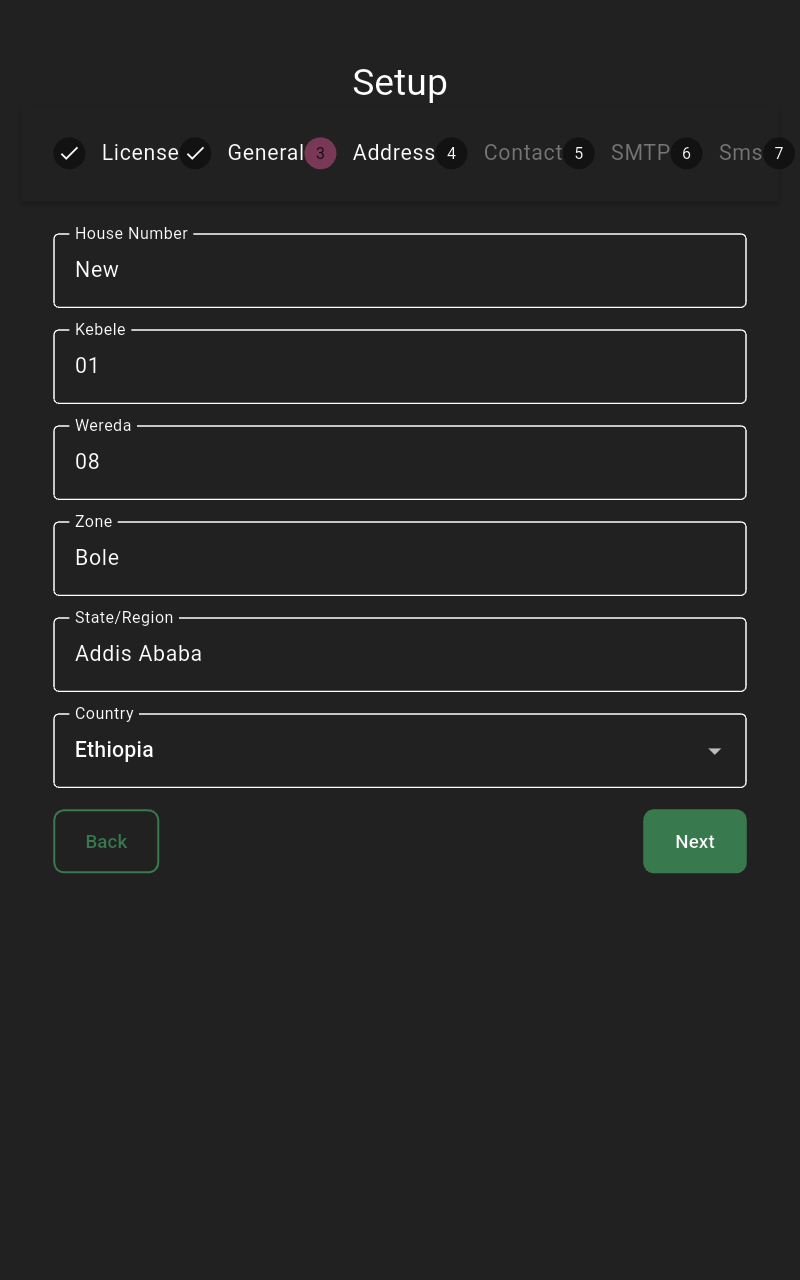 | Example address values. | ||
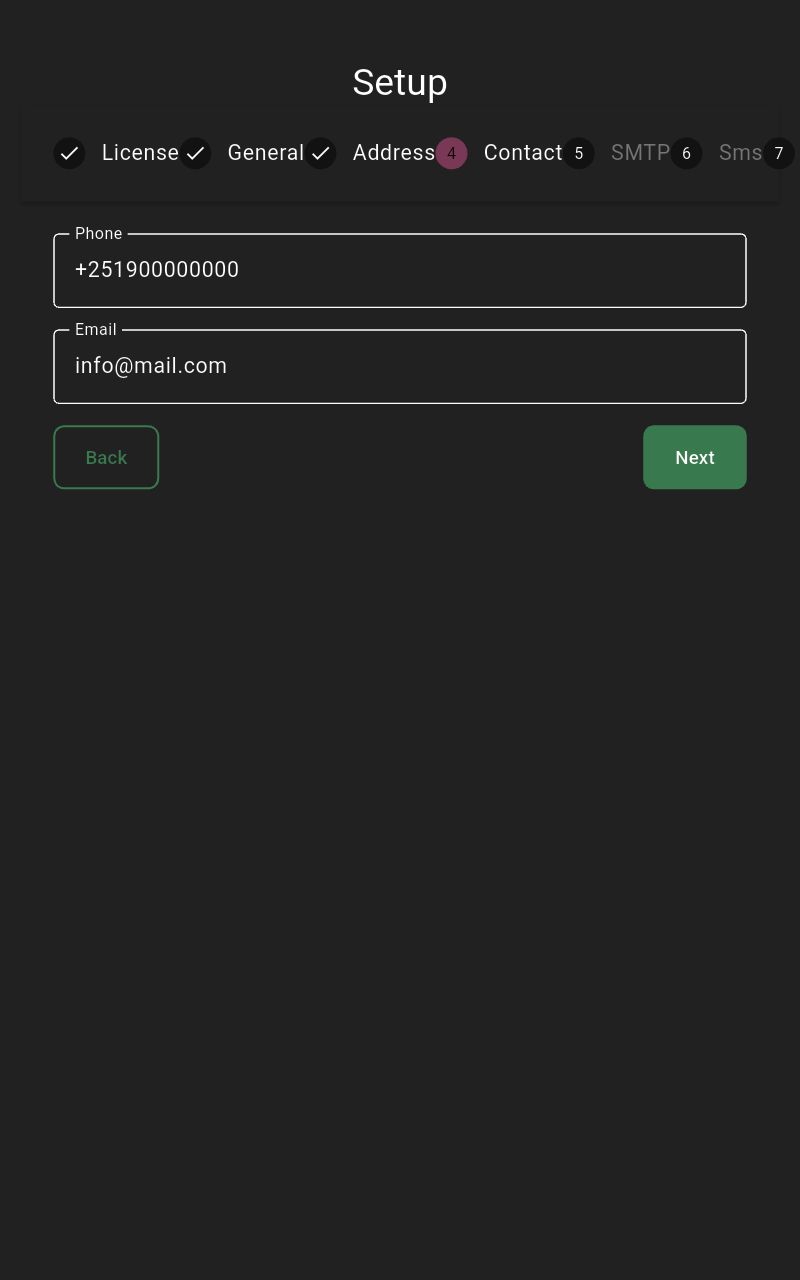 | Email and phone provided. | ||
| Ensure license matches the POS assignment from the back office. | ||
Post-setup checks
- Sign in with the account you created and confirm you are in the correct store/branch.
- Test printing from Settings → Printers and verify receipt output.
- If using a customer display, confirm the device is paired and showing cart totals.
- Back up the configuration once the device is working (Settings → Backup/Restore) so you can restore quickly if the device is replaced.